
|
→
|
Technical Support
|
Install Aluminum Tiles
Tools You'll Need
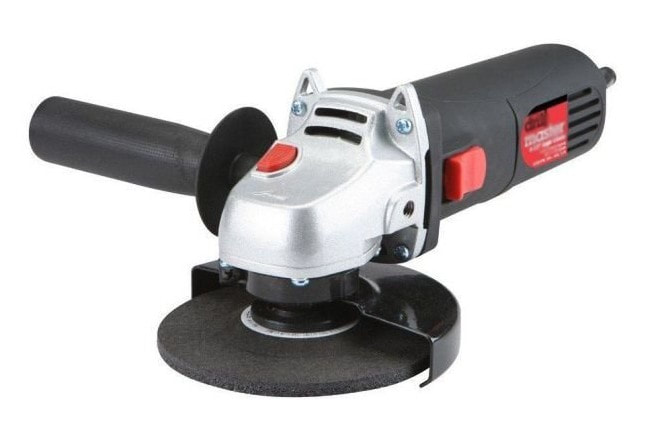
Use a Chop Saw or Angle Grinder with Metal Cutting Blade to Cut The Tile Chips
|
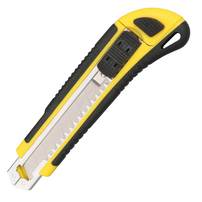
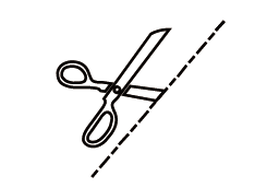
Use Scissors or Utility Knife to Cut In-Between the Chips
|

Use a Tape Measure to Ensure You Have Enough Tile Before You Start
|
Step 1
|
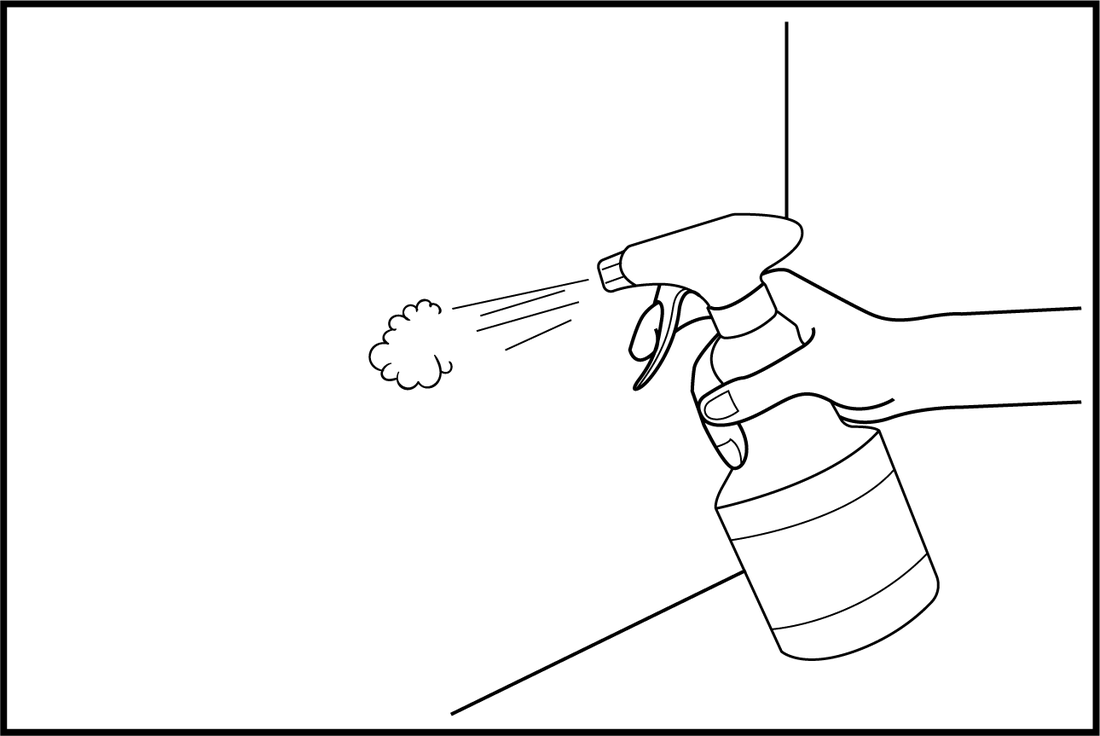
Remove power outlets and light switch covers before installation. The wall should be prepared and ensure it is clean, dry, flat, primed and free of dust, dirt and oils. If the wall is damaged or uneven, additional construction adhesive should be used.
|
Step 2
|
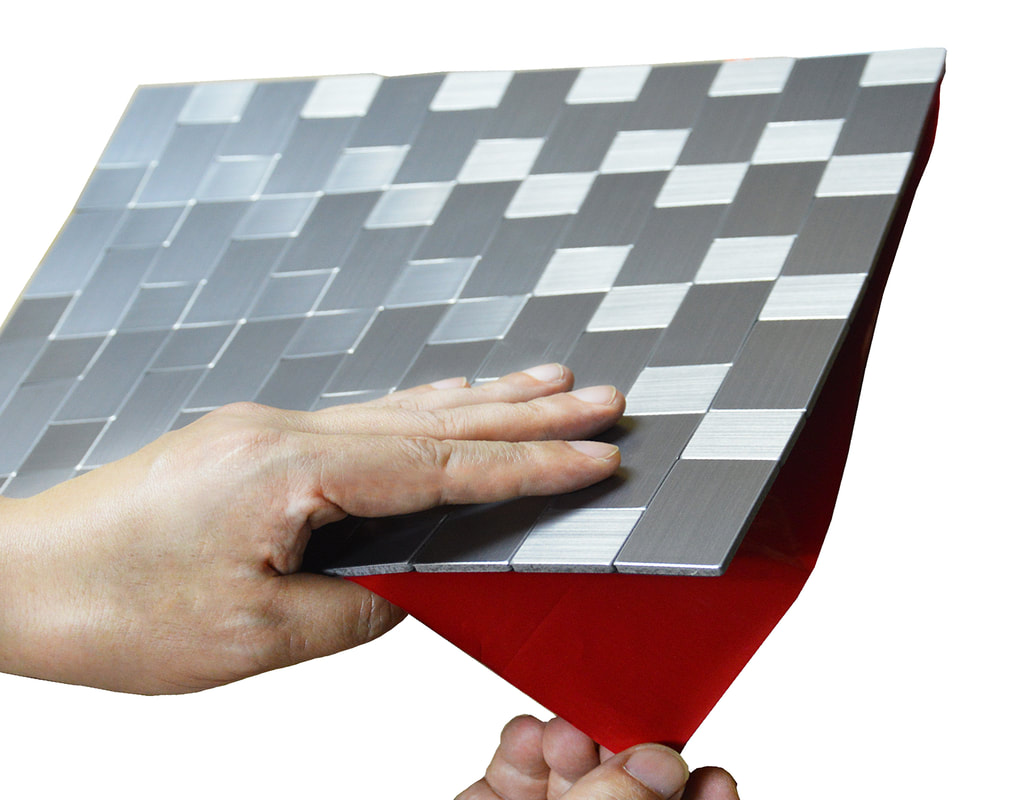
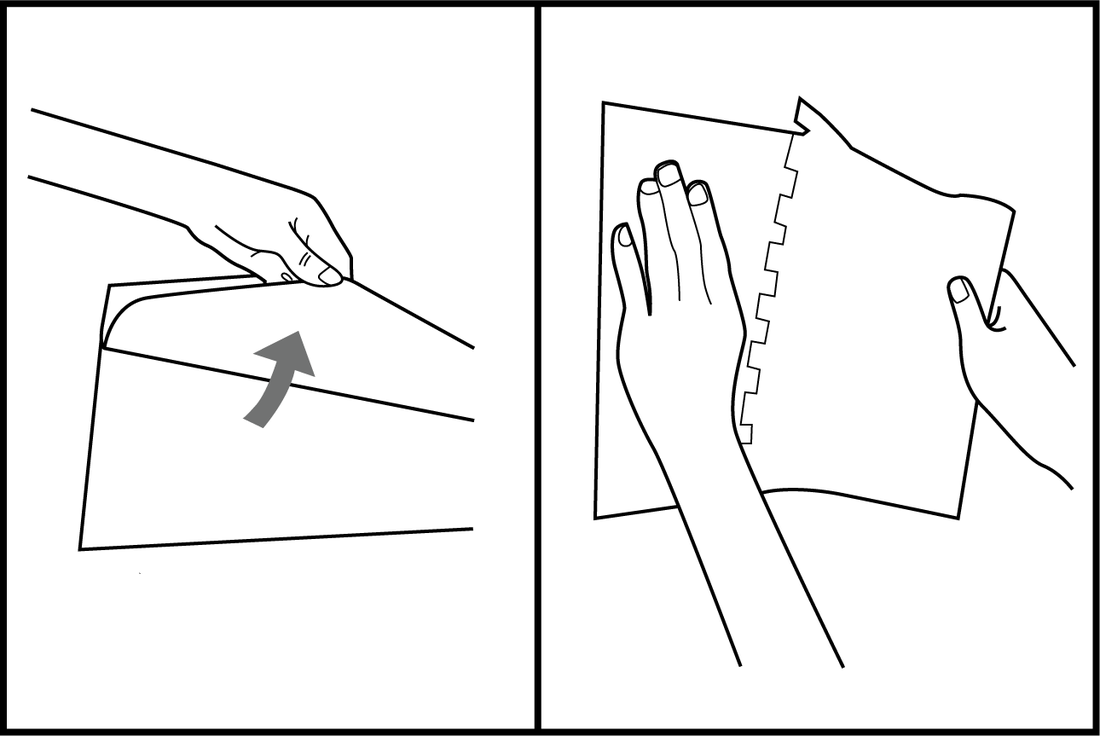
Peel tile backing and lightly stick into place. Important: Lining up the tiles properly might be a challenge as the other parts of the tile may start to stick to the wall before you get it lined up properly. So peel off ONLY THE FIRST 2 INCHES of the backing, line up the tile properly, and then peel off the rest of the backing and stick the whole tile on the wall |
|
Step 3

|
Once the tile is in the desired place, apply pressure to the tile. Important: Make sure the tile is positioned properly before applying any pressure. Applying pressure to the tile will permanently bond it to the wall. If the tile is installed in the wrong position, removing it may cause damage to substrate where the tiles have been applied. |
Install Vinyl Tiles
|
|
|
|
|
|
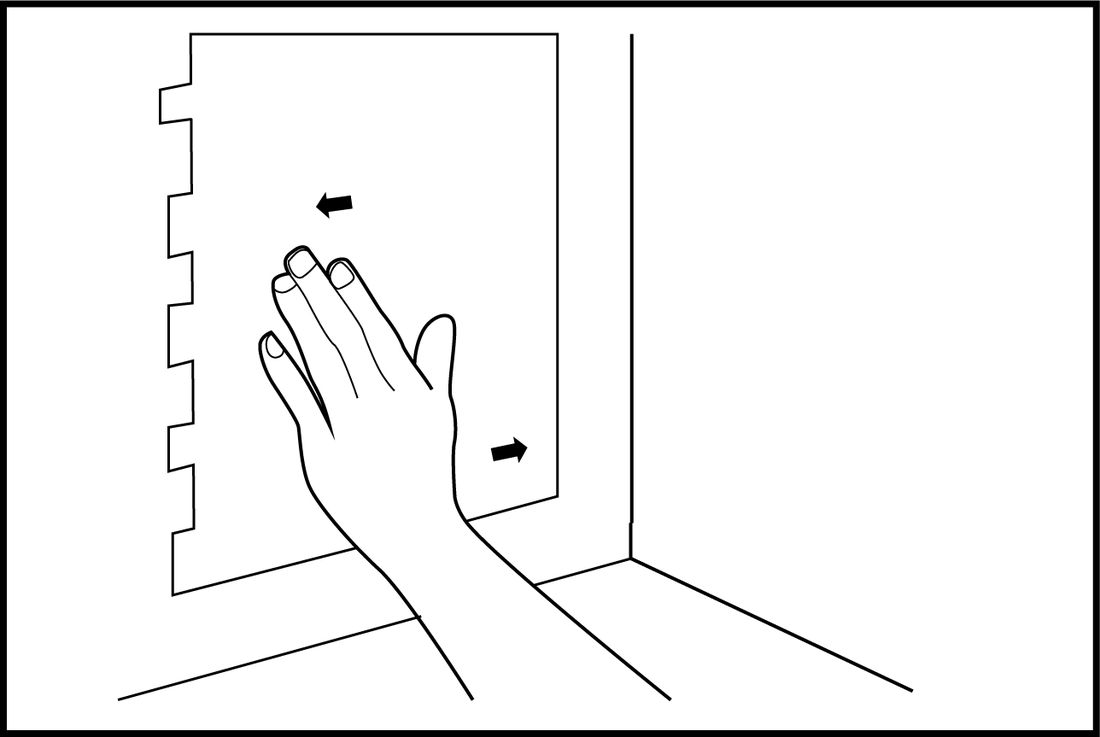
Step 4. StickUse a level or chalk line to trace a guideline on the wall. Align the top of the first tile on the line that was already drawn. Apply pressure on the tile to finish.
Note: The 1st tile must be perfectly aligned as all the followed tiles will be installed against this one. For the 2nd and all remaining, overlap the grout line of the edges over the already installed tiles side by side for a seamless appearance. |
|

|
Warning:
Attention:
|
View and Download Installation Guide in PDF
|
E-mail us at [email protected] if you still need assistance.
|